HPC connection and workshop setup
Overview
Teaching: 5 min
Exercises: 5 minQuestions
Objectives
Learn how to remote access Setonix
Learn about Pawsey-specific user shortcuts and their meanings
Set up the working environment by downloading lesson materials
Connecting to Setonix
We have created training usernames and passwords for you. These are available in a GoogleSheet that can be accessed via a link on the PowerPoint slide. Go to that link and put your name next to one of the usernames to claim it for yourself. That will be your username and password for the whole workshop.
-
Open VScode.
-
Click the blue bar in the bottom left corner of the window. A menu will appear up the top of the window.
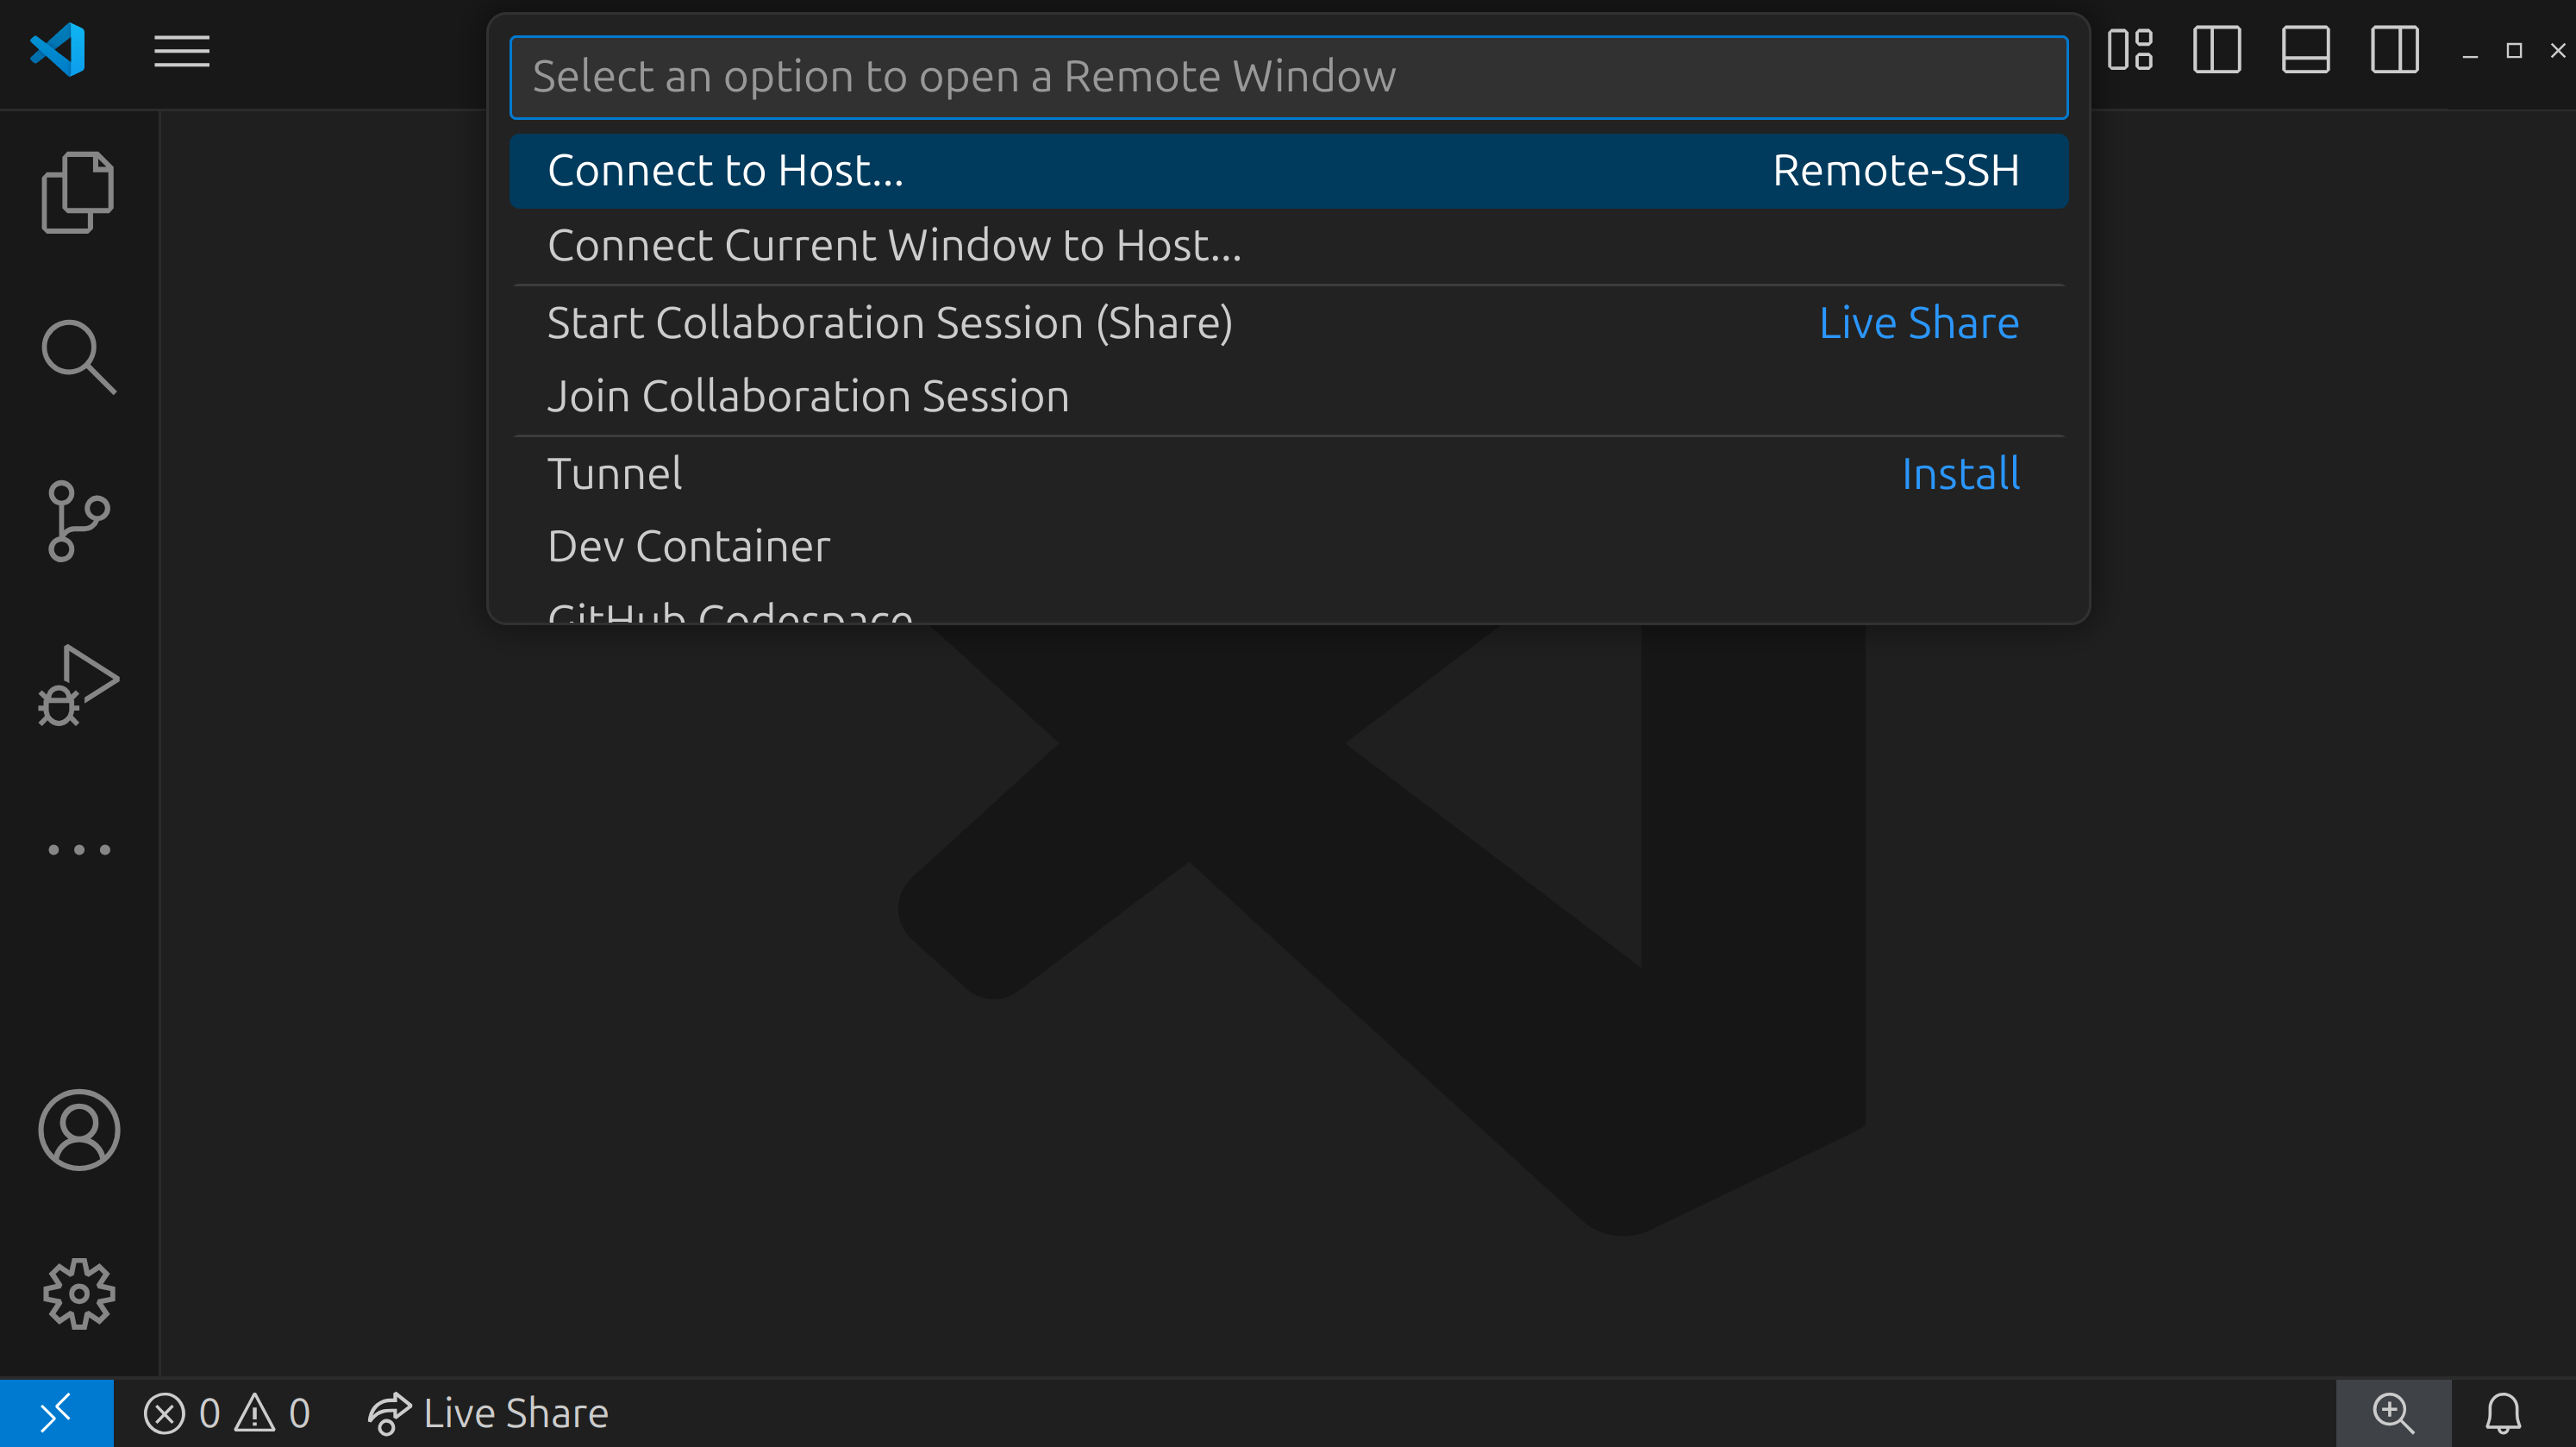
-
Click
Connect to Host...and then+ Add New SSH Host...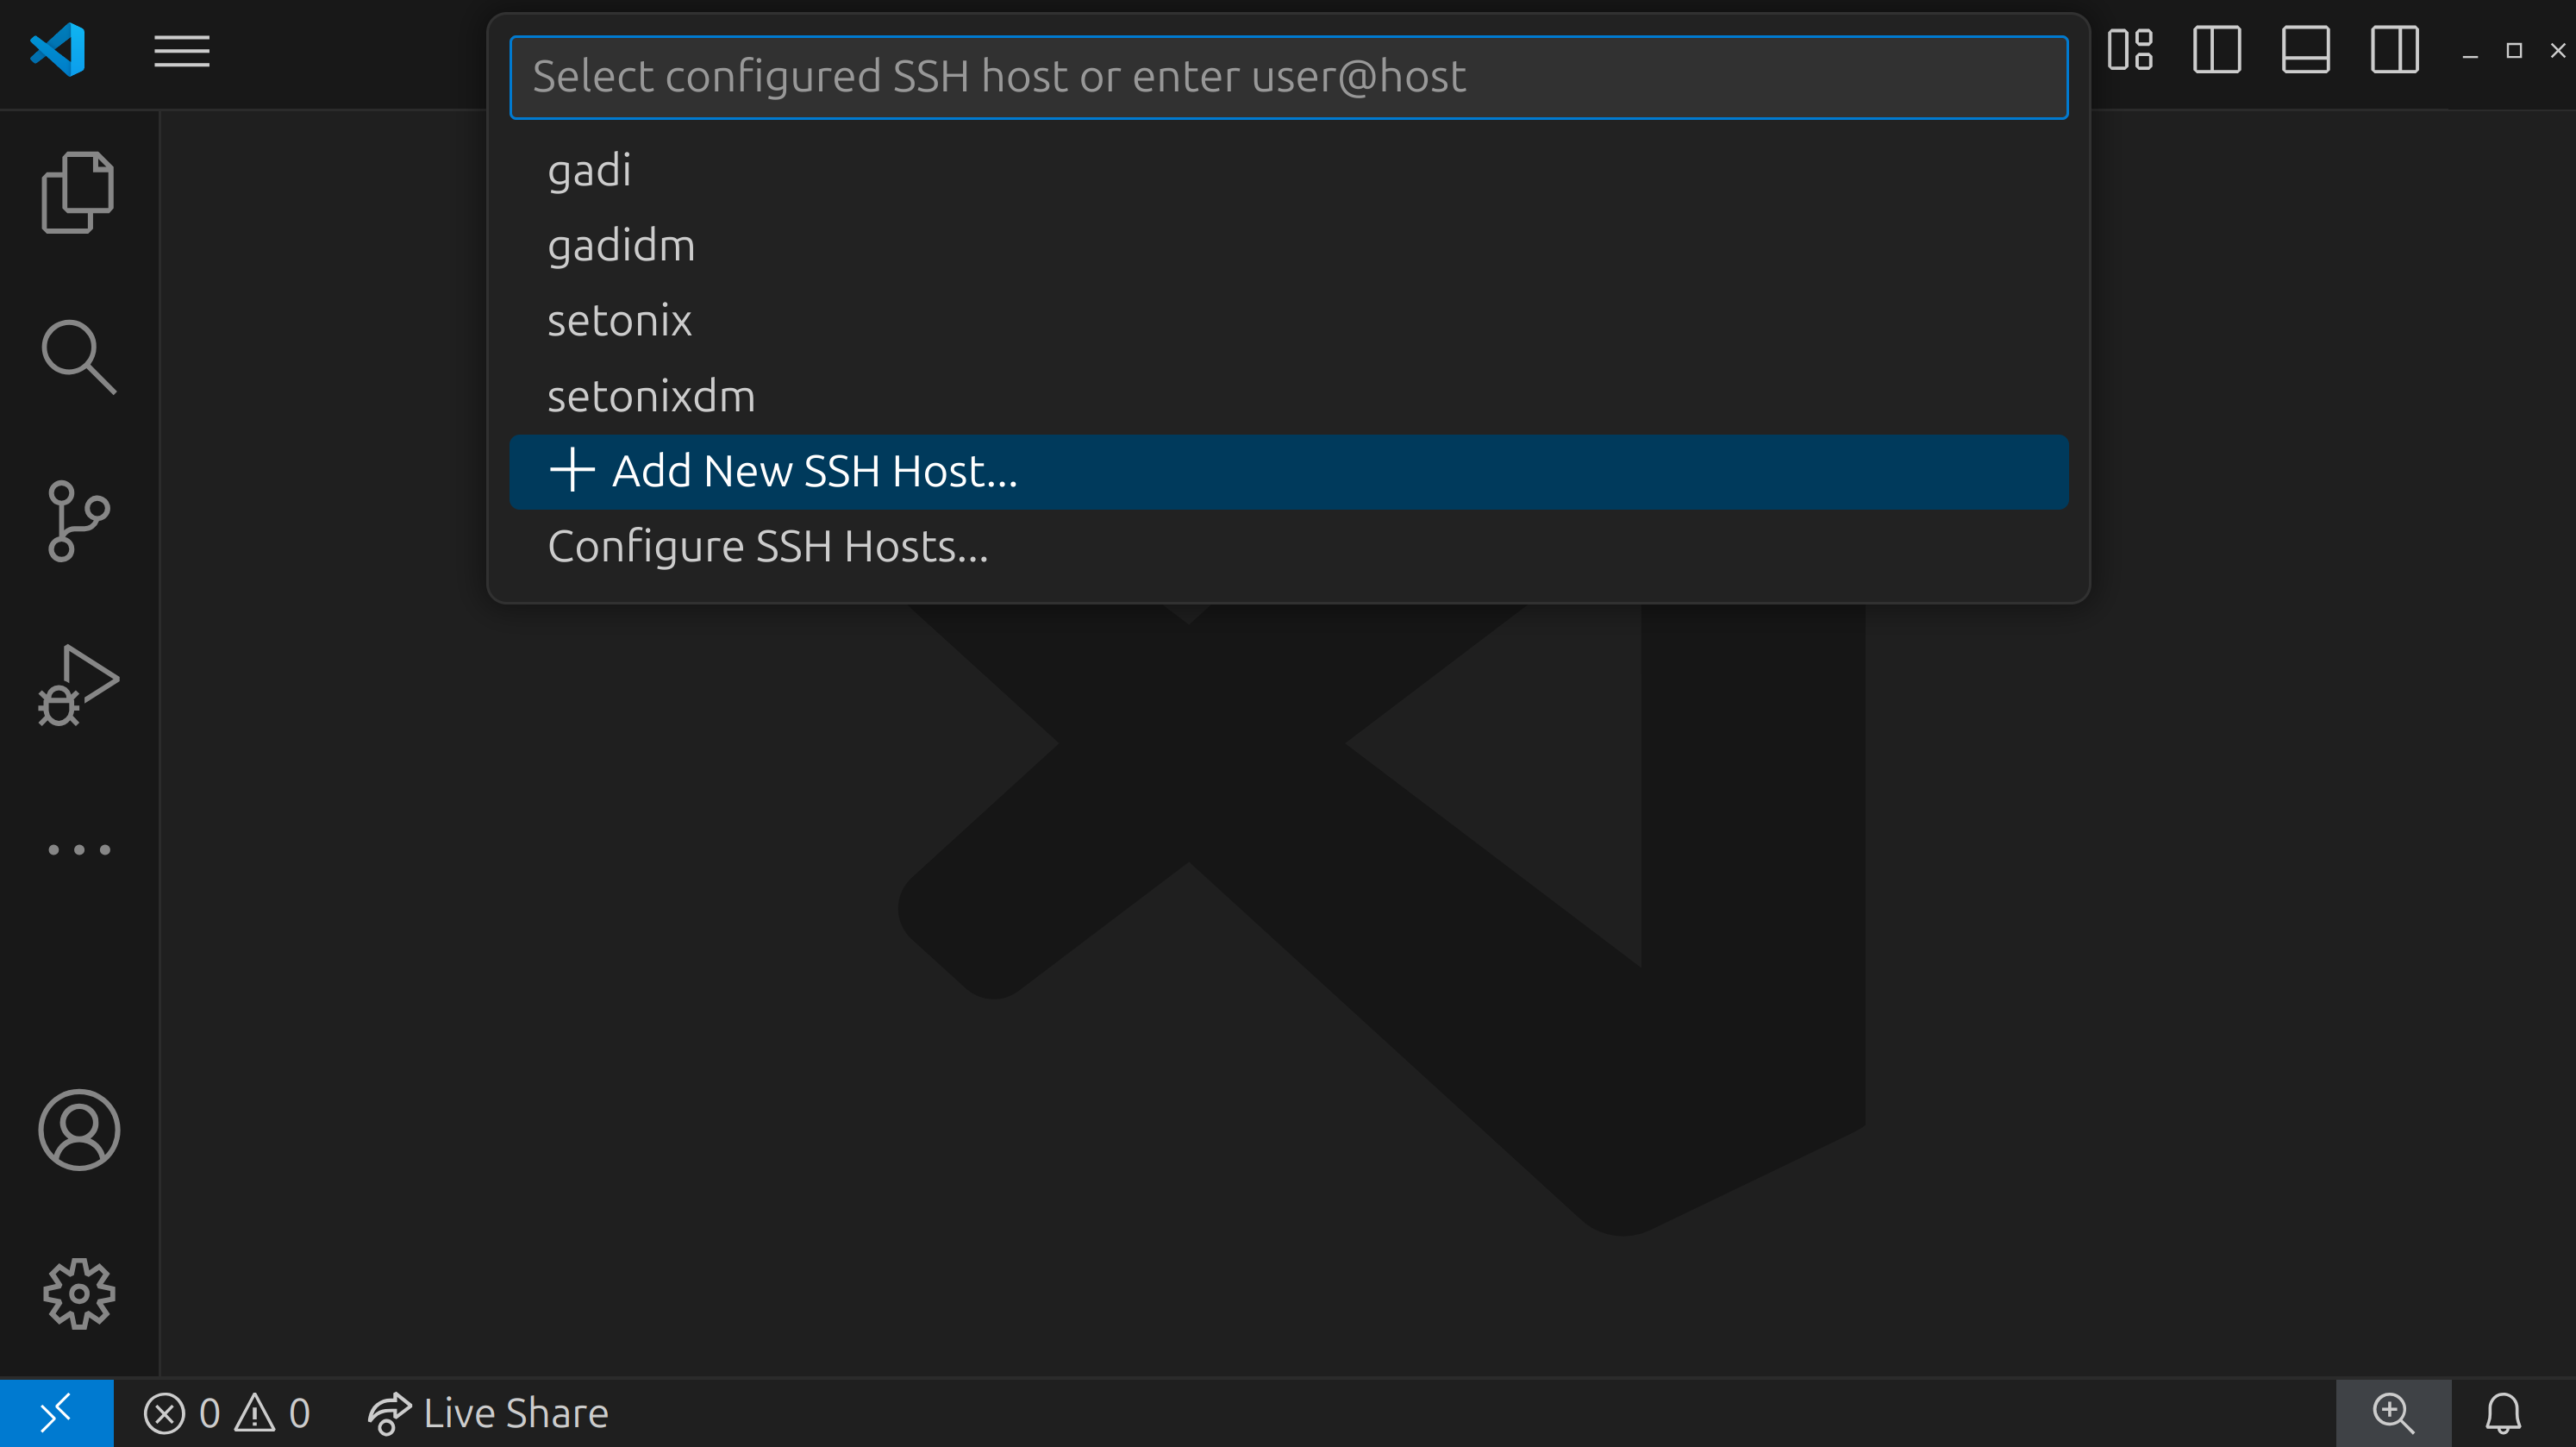
-
In the text box, type the following command using your
<username>selected from the GoogleSheet:<username>@setonix.pawsey.org.au -
Press the
Enterkey -
In the next menu, you are prompted to select an SSH configuration file to update with the new settings. Select the default that is in your home directory (
~/.ssh/config). -
You will see a confirmation message that the new host was successfully added.
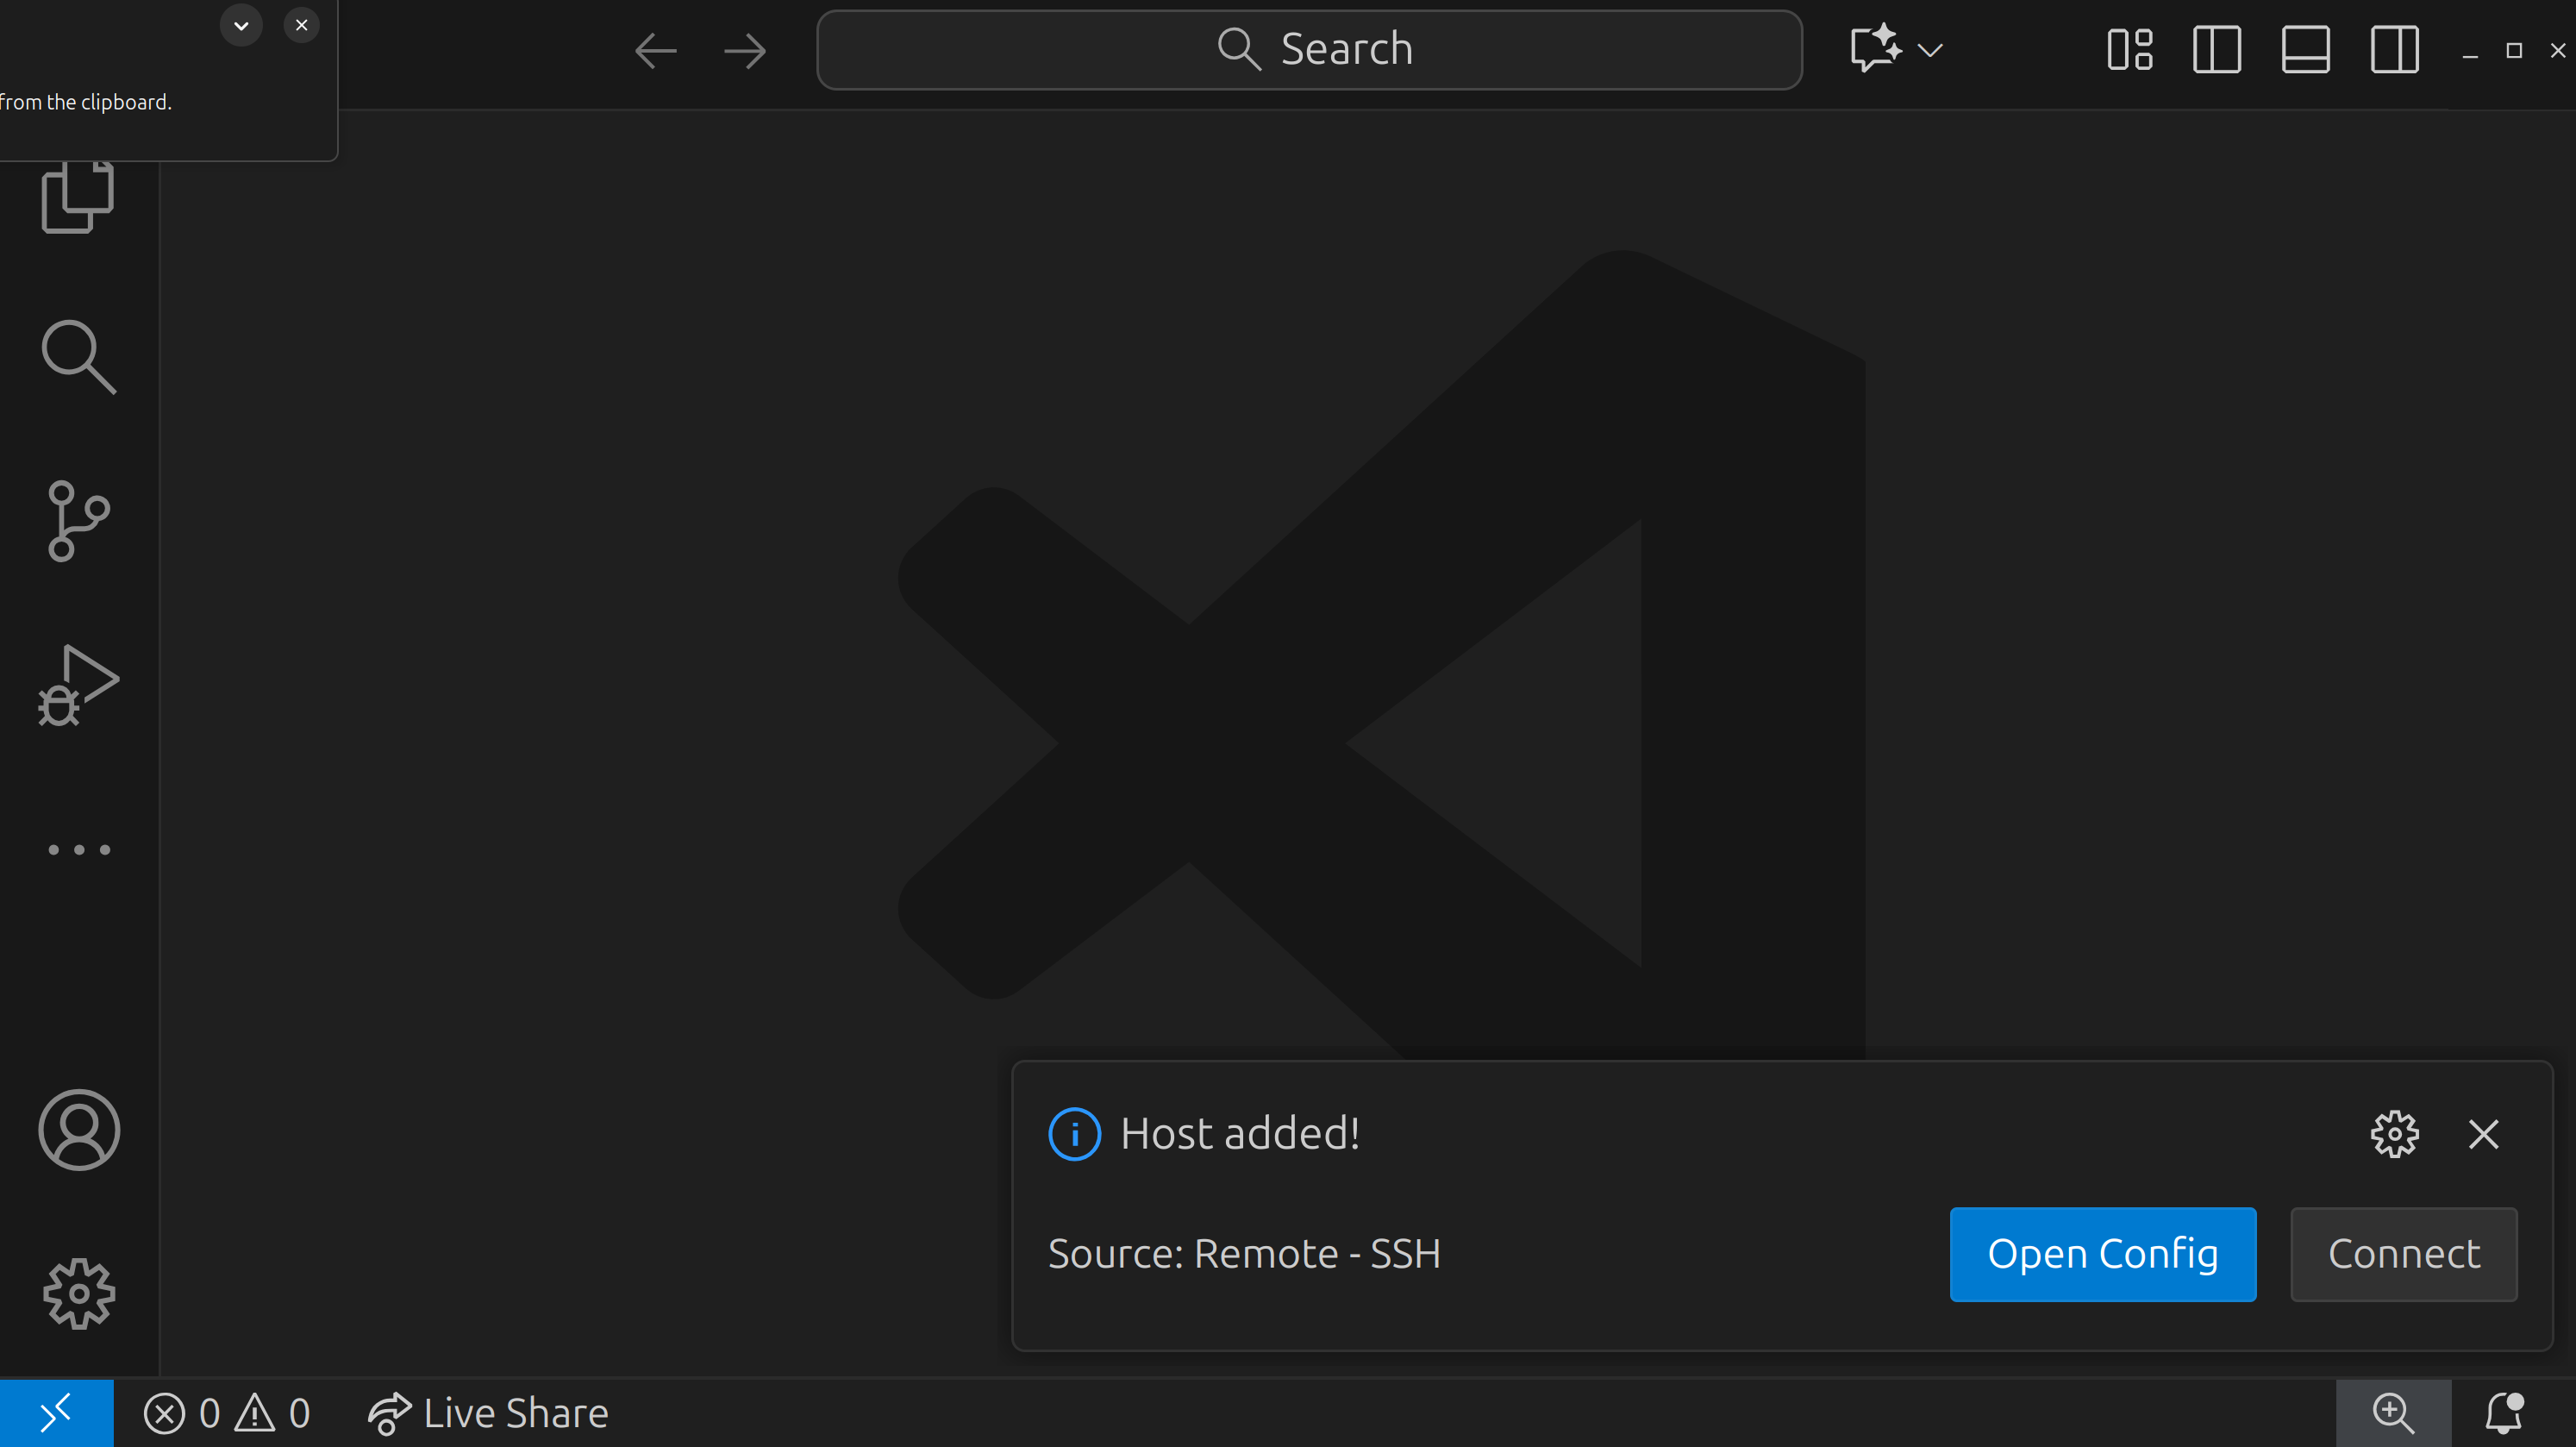
-
Repeat steps 1 and 2 again, clicking on the blue SSH bar at the bottom left and selecting
Connect to Host... -
Click on the remote that you just added: this will be called
setonix.pawsey.org.au. -
A new window will open and a prompt will appear at the top of the window asking for your password. Enter it here and press Enter.
-
A message will appear for a few moments saying
Setting up SSH Host... Initializing VS Code Server. -
Once VS Code has been set up on the remote and you are successfully logged in, you will see the text
SSH: setonix.pawsey.org.auin the blue SSH box in the bottom left corner of the window.
Install neccessary extensions
-
Select the extensions tab on the left hand side of the window. Search for the
Live Previewextension and click the blue install button. -
Click on the blue
Installbutton. -
Once installed, you should see a blue bar in the bottom left corner of the screen. This means that the SSH extension was successfully installed.
Useful shortcuts that Pawsey sets up for you
To save you some time typing, Pawsey has set up some shortcuts for all users. We will make use of these throughout the hands-on session. Let’s look at them:
| Shortcut | Meaning |
|---|---|
| $USER | Your unique user ID. e.g. cou001 or sbeecroft |
| $PAWSEY_PROJECT | Your default project code (some people are members of multiple projects). e.g. courses or pawsey1086 |
| $MYSCRATCH | Path to your default scratch directory. e.g. /scratch/courses/cou001/ |
| $MYSOFTWARE | Path to your default software directory. e.g. /software/projects/courses/cou001 |
Set up your workspace and download the lesson material
-
Open the VSCode terminal (
Ctrl + Jfor Windows/Linux,Cmd + Jfor Mac) and run the following command: -
In the same terminal execute the following commands:
cd $MYSCRATCH -
You can now clone the workshop materials into this space.
git clone https://github.com/AustralianBioCommons/2025-ABACBS-workshop cd 2025-ABACBS-workshop/exercises/ ls -
If you’ve successfully cloned the git repo, the
ls exercisescommand will return the following:exercise1 exercise2 exercise3 -
In the same terminal, execute
pwdto find the current working directory (eg/scratch/courses/<username>/2025-ABACBS-workshop/exercises/). -
In the left-hand sidebar of VSCode, click on the “Explorer” tab (an icon that looks like two sheets of paper).
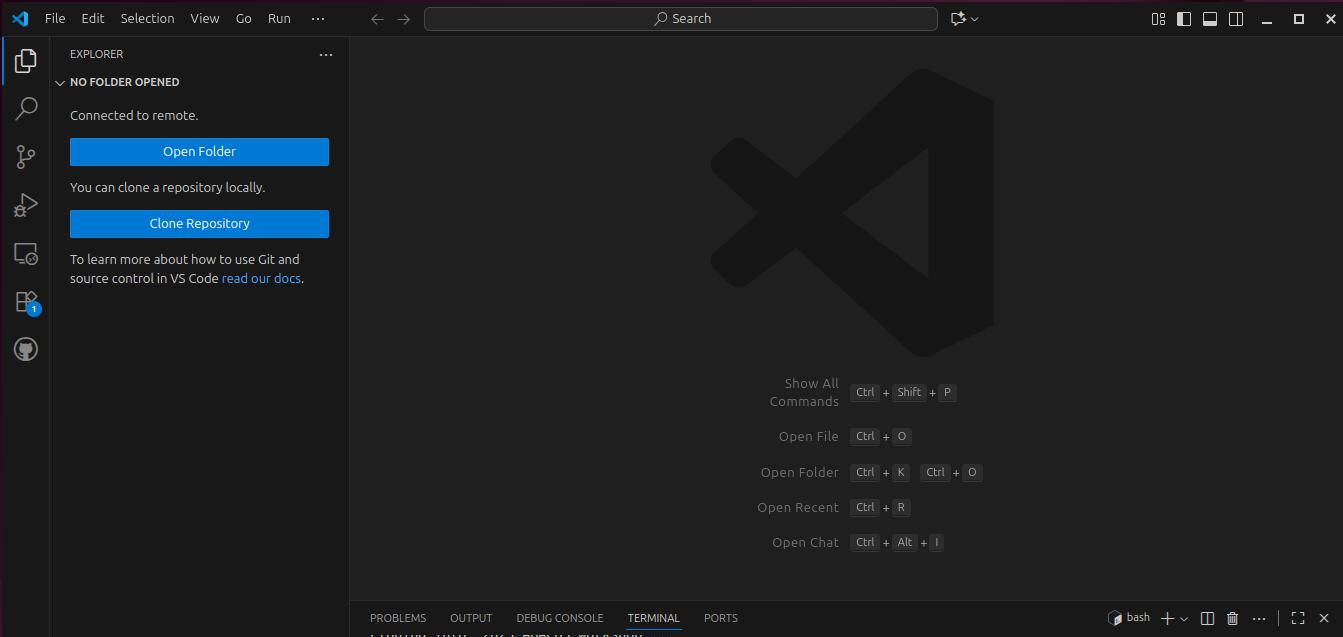
-
Click on “Open Folder”
-
In the text box that appears, enter the path of your current working directory identified above (eg
/scratch/courses/<username>/2025-ABACBS-workshop/exercises/): -
In the terminal, execute the following command to start an interactive session on a compute node which we can use to execute our workflows.
salloc -t 2:00:00 -c 2 --mem 4GB --reservation=proteinfold
Acknowledgements
Setup content copied and adapted with permission from a Sydney Informatics Hub (SIH, University of Sydney) Nextflow and HPC workshop.
Key Points
Logging on to Pawsey systems uses SSH (secure shell)